linux系统简单三步,快速打造个人博客
如果你已经拥有了自己的云主机,可以参考下面的步骤快速搭建个人博客。注意在云服务上的控制台开放80端口。
实验环境:
centos 7
nginx 1.18
mariadb  5.5
PHP  5.4
1、部署lnmp:
# 配置nginx仓库:
cat > /etc/yum.repos.d/nginx.repo <<EOF
[nginx-stable]
name=nginx stable repo
baseurl=http://nginx.org/packages/centos/$releasever/$basearch/
gpgcheck=1
enabled=1
gpgkey=https://nginx.org/keys/nginx_signing.key
module_hotfixes=true
EOF
# 配置网易的base源:
wget -P /etc/yum.repos.d/ https://mirrors.163.com/.help/CentOS7-Base-163.repo
# 安装:
yum install nginx-1.18.0 php php-fpm php-devel php-mysql mariadb mariadb-server mariadb-devel -y2. 创建数据库:
[root@localhost ~]# systemctl start mariadb
[root@localhost ~]# mysql
Welcome to the MariaDB monitor. Commands end with ; or \g.
Your MariaDB connection id is 2
Server version: 5.5.68-MariaDB MariaDB Server
MariaDB [(none)]> create database typecho charset utf8;
Query OK, 1 row affected (0.00 sec)
MariaDB [(none)]> grant all on typecho.* to "typecho"@localhost identified by "typecho";
Query OK, 0 rows affected (0.00 sec)
MariaDB [(none)]> flush privileges;
3. 上传网站代码:
# 下载代码:
wget -c http://typecho.org/downloads/1.1-17.10.30-release.tar.gz
tar xf 1.1-17.10.30-release.tar.gz
mv build /usr/share/nginx/html/typecho
chown apache. -R /usr/share/nginx/html/typecho/
### 修改nginx配置文件:
vim /etc/nginx/conf.d/default.conf
。。。省略号
location / {
root /usr/share/nginx/html/typecho;
index index.html index.htm index.php;
}
。。。省略号
location ~ .*\.php(?:$|\/) {
root /usr/share/nginx/html/typecho;
fastcgi_pass 127.0.0.1:9000;
fastcgi_index index.php;
fastcgi_param SCRIPT_FILENAME $document_root$fastcgi_script_name;
include fastcgi_params;
}
。。。省略号
# 启动nginx,php服务:
systemctl start nginx php-fpm
4. 访问IP或者域名:
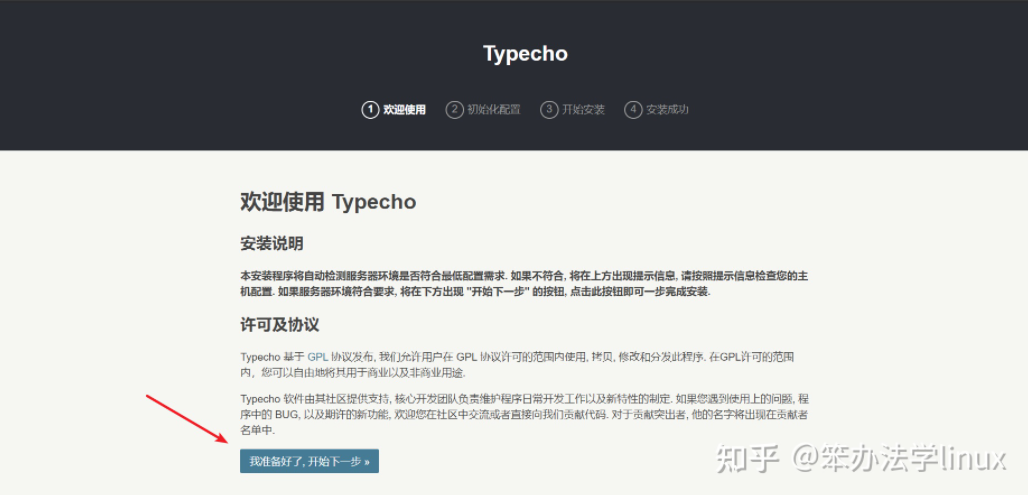
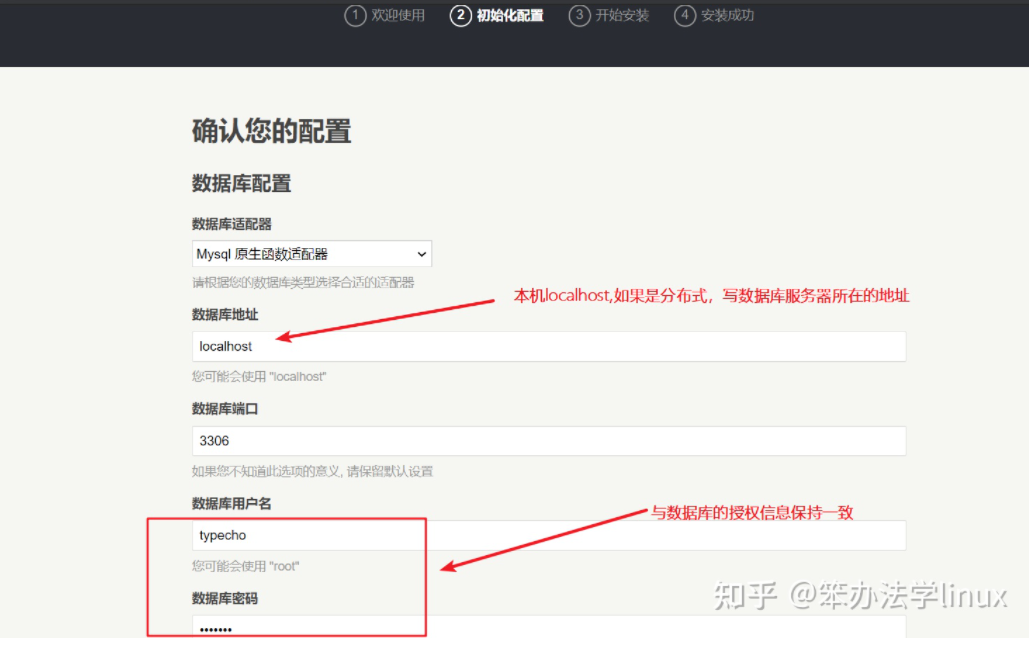
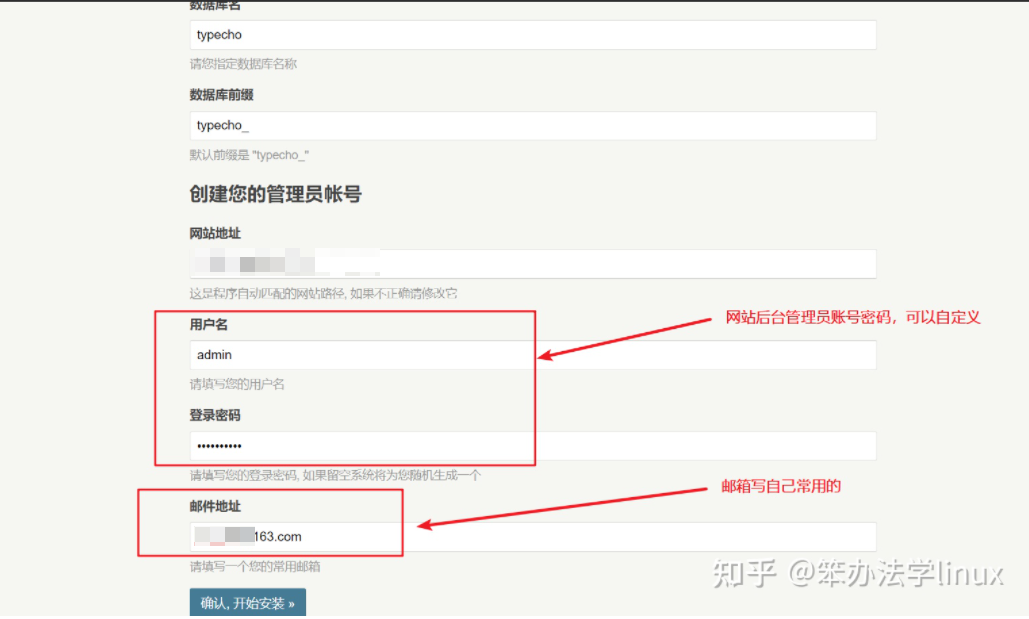
到这里,一个网站就部署好了,可以查看首页内容。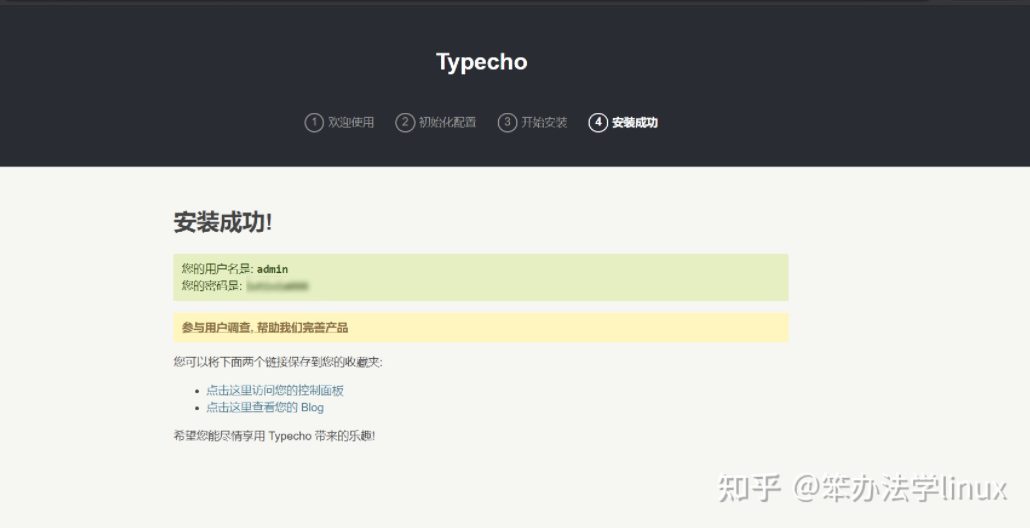
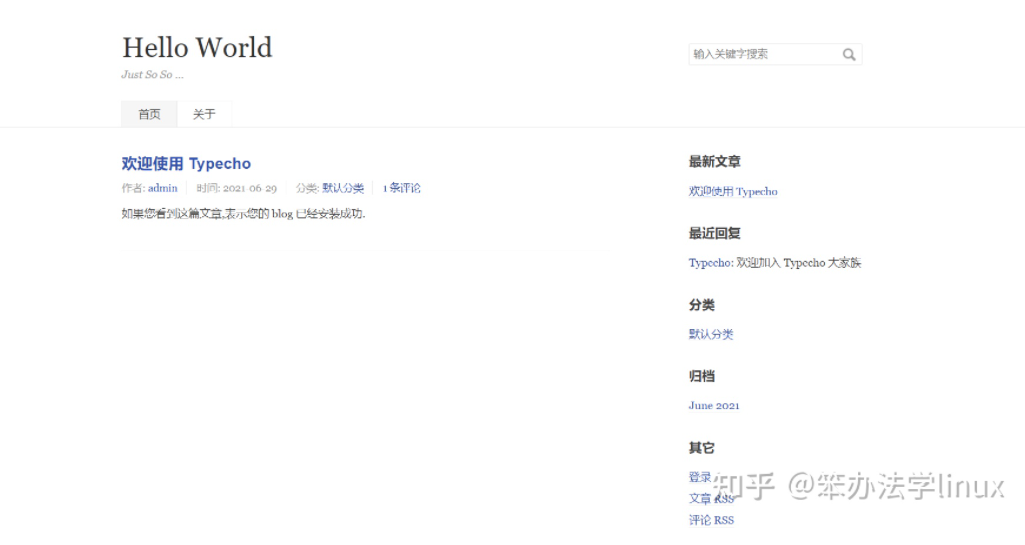
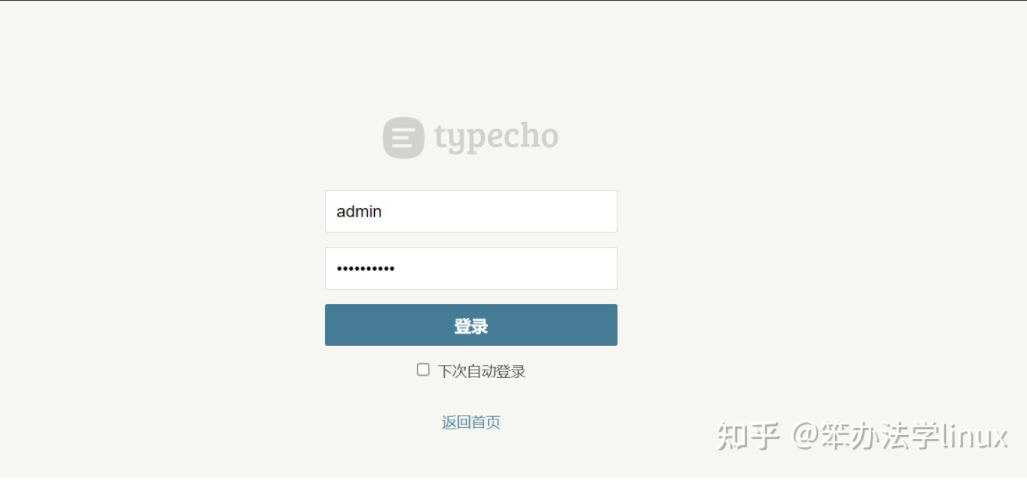
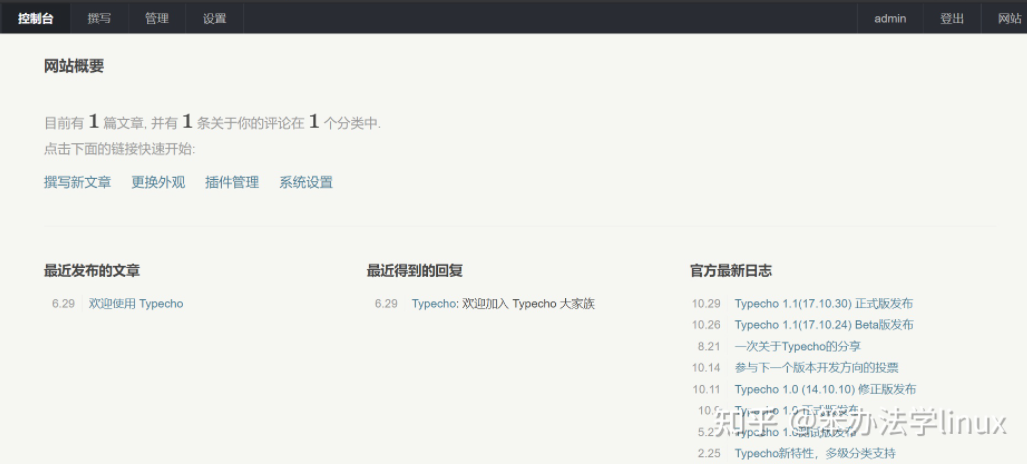
5. 登录后台:
6. 可以选择喜欢的主题与插件:
下面这个是我的个人博客,欢迎交流。